Bay windows can add a nice flair to your home. Installing a bay window can easily be a DIY project, but before you go that route, you may want to line up a contractor to help out if need be. This job is not going to be something that you can complete during a Saturday afternoon or even the weekend, but putting in the necessary time will help you achieve desirable results.
Scratch versus Pre-built Windows

Nowadays, very few contractors will take on the project of building a bay or bow window from scratch. It simply isn’t practical, when for the same or less money they can install a quality pre-built window.
Bay windows and window components are too heavy for one person to manage. It is imperative that you have the proper team lined up to help you.
Before you install new windows, be sure to look at the weather forecast, including the long-range forecast. Installing the window means opening a hole into your home; therefore, it can take a couple of days to get the new window in place and sealed. The last thing you want is the rain to come pouring in on your floor, walls or furniture.
In addition, it is essential to check your city or community construction codes. There may be special local requirements, such as having safety glass in low profile windows. You will likely need a building permit, so that would be a good time to check the codes.
The Tools and Materials You’ll Need
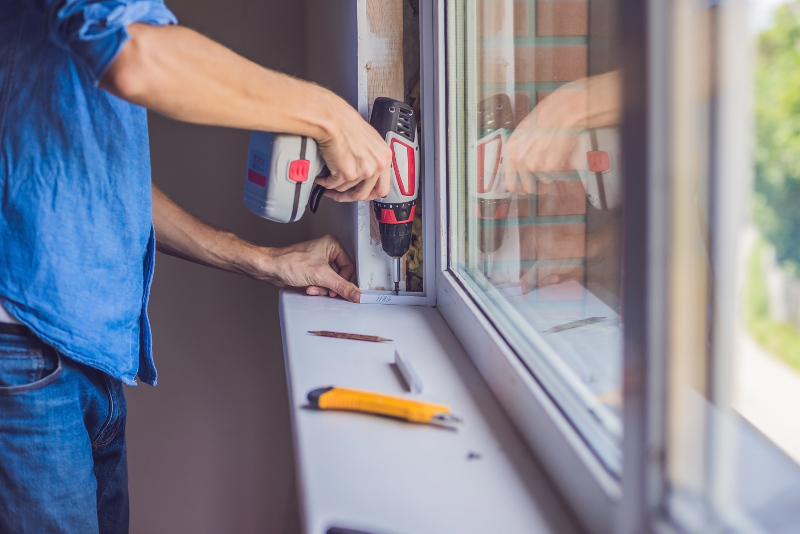
The tools you will need for this project include a tape measure, a framing square that you can also use as a straight edge, a circular saw or miter saw, crowbars, drill and bits, level, stapler, utility knife, tin snips, and a caulking gun.
You will need to include the bay window unit, the support brackets, nails, roofing paper, shingles, roofing nails, exterior grade silicone caulking, and fiberglass insulation. You also need 1X6 inch boards for the window skirting. If you are enlarging an existing window, or if you are installing the window in a space that was previously the wall, you will also need 2X4’s for cripple studs and additional framing.
Basic Installation Steps
1) Establish window position in the wall
Remove the existing window. Measuring the bay window, mark on the exterior of the house the opening needed for the new window. Cut the required opening, using your circular saw.

2) Framing
Build the framing for the new window. This will likely include cutting through existing studs and putting in a new header, rough sill, jack studs and cripple studs.
3) Install the support braces.
A window up to five feet wide will take a minimum of two support braces. A wider window will need three.

4) Set the window in place
Lift the bay window on the support braces and slide it into the rough opening. Shim as necessary to level the window. Anchor in place.
5) Build the window roof
Set the roof frame on top of the bay window unit and nail in place. Fill the space between the roof and the top of the bay window with insulation. Fasten the roof sheeting to the frame and cover with roofing paper. Install the drip edges and the flashing and then shingle.

6) Install the window skirting around the bottom of the window.
Fill with insulation and then attach the skirt bottom to seal the underneath side of the window.
7) Seal the edges with silicone caulking.
This step will finalize the project, and you should be ready to go.
This is only a basic list of steps – you’ll want to use the complete installation steps that come with your window purchase. The project will go much more smoothly and completed in much less time when you read and follow the instructions.

If you enjoyed these tips, then you’ll want to read our Decorating Tips & Trends post.