Tile over tile means exactly what it says: placing new tile over the old. Specifically, it’s important to sandwich a layer of radiating heat mats between the old and new tile. Tile over tile is an easy way to avoid the mess associated with tearing up the old bathroom floor but requires thorough planning.
Keep Your Eyes Peeled for Deflection
Before you install a radiant heat mat over the old bathroom tile and new tile over the mat, you should check the floor for deflection. This means the maximum amount the floor can move under the anticipated load (people walking on the floor). As a result, hard ceramic tile will break or dislodge if the surface bends under the load.
Here’s a simple test: stand in the middle of the bathroom floor and jump up and down. If the floor moves, it has a deflection problem and is not a good candidate for tile over tile installation. If this is the case, you will have to reinforce the sub-floor.
Avoid That Sinking Feeling
Since you’re tiling over tile, you must plan to avoid making the vanity, toilet and tub look like they’re sinking into the new floor. Fortunately, many of the new radiant heating mats are no thicker than the depth of the mortar you would ordinarily apply for most tile installations. Combine this with a tile thickness of a quarter of an inch and the maximum elevation above the old floor would only be half an inch.
One way to keep the bathroom fixtures from looking swallowed by the new floor is to remove and reinstall the baseboard. Better yet, why not buy new baseboard tile to complement the new floor? The raised height of the new floor will also require you to adjust the length of the door(s) and possibly install a new threshold.
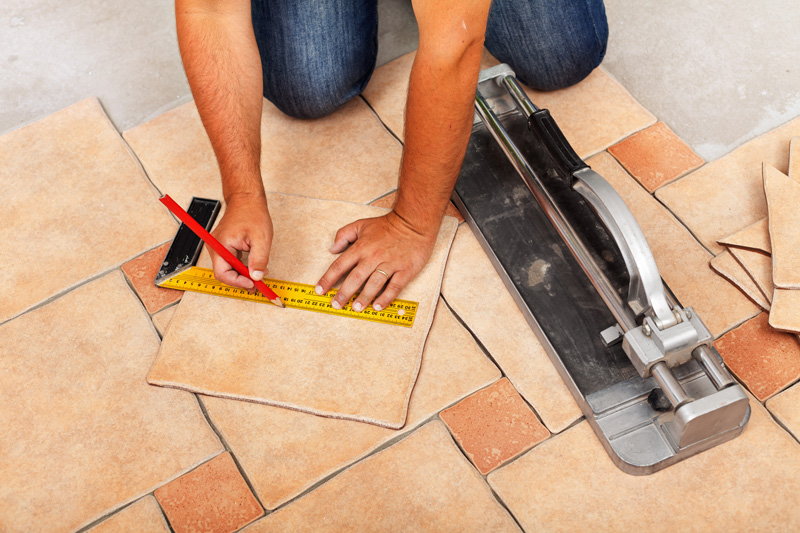
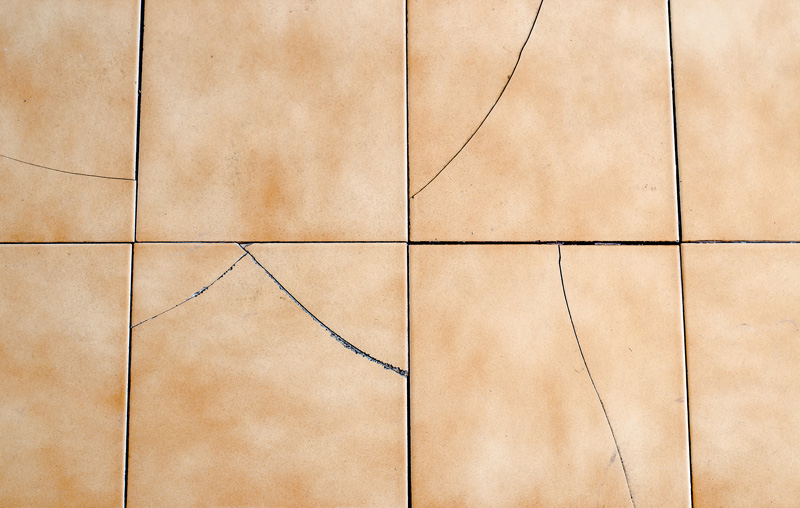
To prepare for this, remove or re-attach broken tile pieces. If you remove them, wait until the floor has been sanded and thoroughly vacuumed before you fill the spaces with mortar. If any of the tiles have checks wider than an eighth of an inch, you should consider a crack isolation membrane. This membrane is a roll-on product that you apply to the old tile and allows the new floor to move independently.
The Sanding Stage
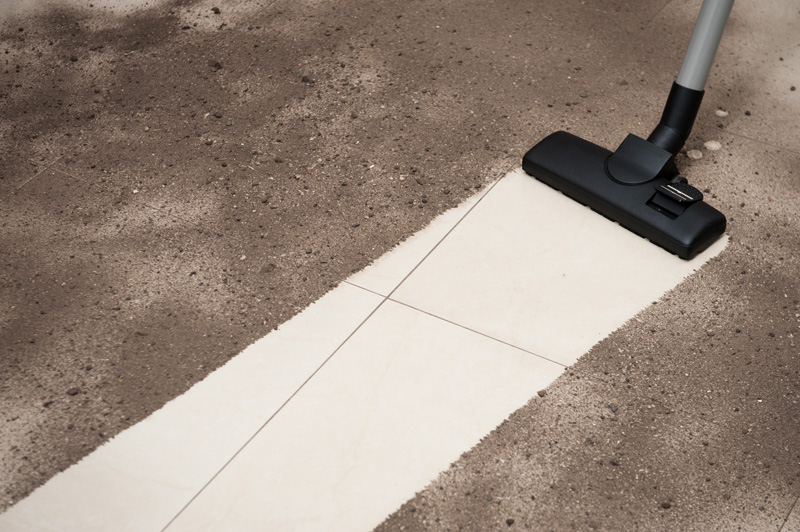
The next step in this process is to sand the old tile. This will ensure the mortar has a good bonding surface. A belt sander would secure a consistent bonding surface. Always take precautions when sanding: wear a face mask and safety glasses. The tiles may have been fired with toxic lead glaze, and you’ll want to protect yourself.
After sanding, vacuum the tile and wipe down with an all-purpose cleaner. Pay special attention to the areas untouched by the sander.
Key Steps to Installation
Roll out the mats prefabricated to your specifications by the manufacturer. Some radiant systems, like Quickmat, are self-adhesive and require no mortar to secure them to the old tile floor. If you’re re-tiling a single bathroom, keep a board and some scrap 2 x 4’s handy to protect the mats when the bathroom is being used.
Throughout the installation process, use a digital ohm meter to check the resistance of the heating mats. This meter will help you monitor the mats for short circuits. In addition, have your electrician connect the heating mats to the power source and install the thermostat. Depending on the local electrical inspection procedures, you might have to wait until the job is reviewed before you start laying tile.
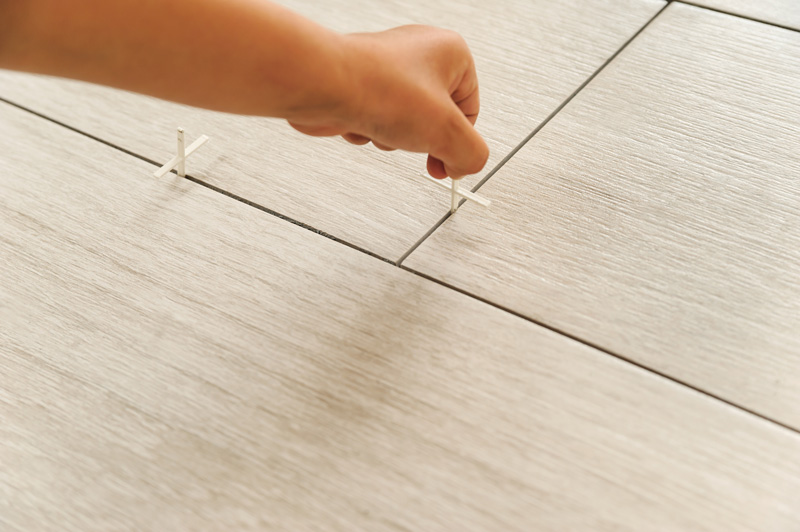
Use the following method: trowel out the mortar over the mats. Some manufacturers recommend latex- modified or epoxy-modified mortar and grout instead of water-based multi-purpose adhesives. Mortar beds thicker than three eights of an inch should work fine for most systems; they just take slightly longer to heat up.
Since you won’t be covering the entire floor with heating mats, make sure the mortar applied over open areas (such as under the toilet) is level with the mortar covered mats. Also, try not to bump the trowel on the mat or heating wire – it will remove excess mortar from the trowel. This type of incident could sever the heating wire. At this point, you would lay down the tile. If you have no experience tiling, practice on your neighbor’s bathroom floor.
Fire It Up
You might be excited to try out your new radiant heated bathroom floor and want to get your feet warm. Feel free to test it, but only for ten minutes. Be sure to avoid putting the system into full operation until the mortar is fully cured – this process can take up to four weeks. The tile over tile process has many steps and needs preparation, which is why thorough planning is so important.
For more tips about flooring, we have a blog post dedicated to Budget Friendly Hardwood Flooring. Finding the right flooring within your budget can take the aesthetic to the next level.