If the process of laying ceramic tiles is totally new to you, you will find here a set of basic but important tips that will help you avoid making costly mistakes on your next bathroom or ceramic tile installation.
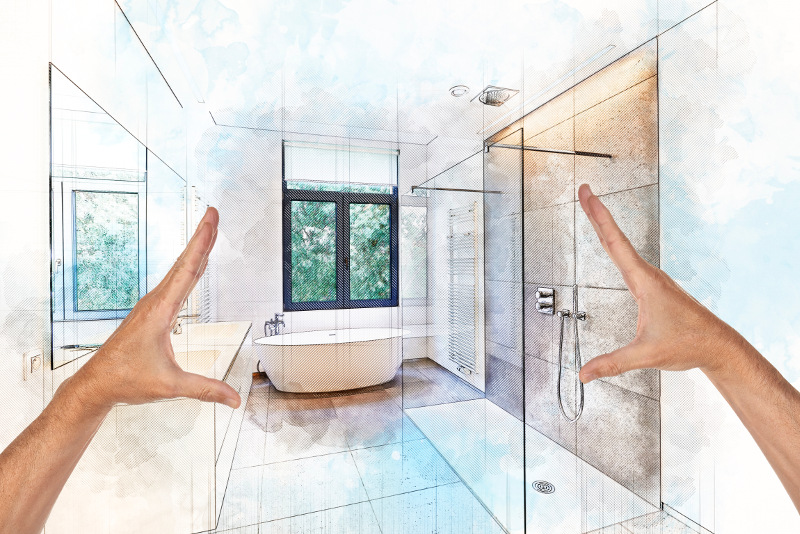
The Planning Process
Planning your ceramic tile installation from A to Z is probably one of the most important steps for a smooth, and easygoing tile installation for the bathroom.
Some things to take into account are:
- Suitability of the tile
- Pattern and color of the tile
- Size of the tile
- Size of the area to be tiled (important to know how many tiles, grout, you will have to buy).
- Adhesive, mortar or grout to suit your needs
Not all ceramic tile installations are the same – different tiling installations may need other types of mortar or grout. Do not feel shy about asking the suppliers for advice or help in calculating how much you need.
Shop around for Options
When your budget is tight, it can be tricky to find the right tile for the ceramic tile installation you want. You will have to make some compromises, so it is important to keep your options open.
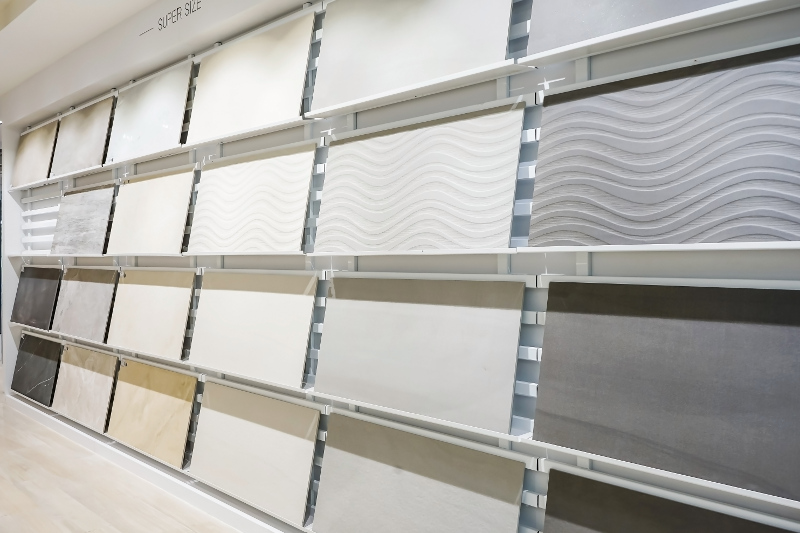
Prices can vary between different tiles; as a result, some of the tiles could be very expensive for only a few square meters.
There are many ways you can shop around, whether it’s online, or finding suppliers and stores in your area. Before making your final decision, always check the chosen tile under different lights as the results can be surprisingly different.
Prepare the Surface
The surface to be tiled (floor, wall or any other) will often need to be prepared. This can include work like filling, leveling, smoothing, priming and sometimes waterproofing.
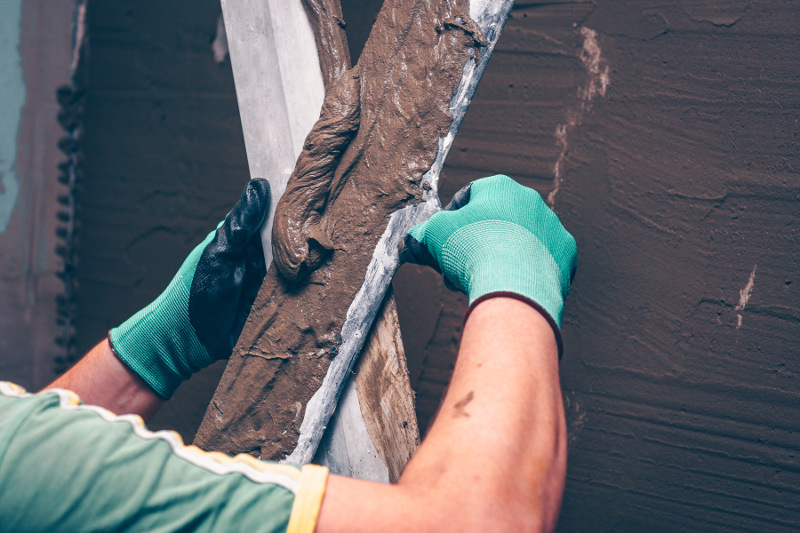
The right preparation will directly affect the lifespan of the ceramic tile installation. Unless you want to be tiling again soon, you want to get this right from the start. It is important not to rush it, and follow all the necessary steps.
Laying Down the Tiles
The technique of laying ceramic tiles is not especially difficult; it only takes a little bit of practice before anyone can easily master it. Clearing the room to be tiled before starting will help you to do the job safer and simpler. Also, it is important to wear your safety goggles when cutting or chipping tiles.
Laying ceramic tiles can be a messy job. If you don’t want dust all over the house, we suggest sealing the room you want to tile. A large piece of plastic tacked to the door frame will do the job quite well.
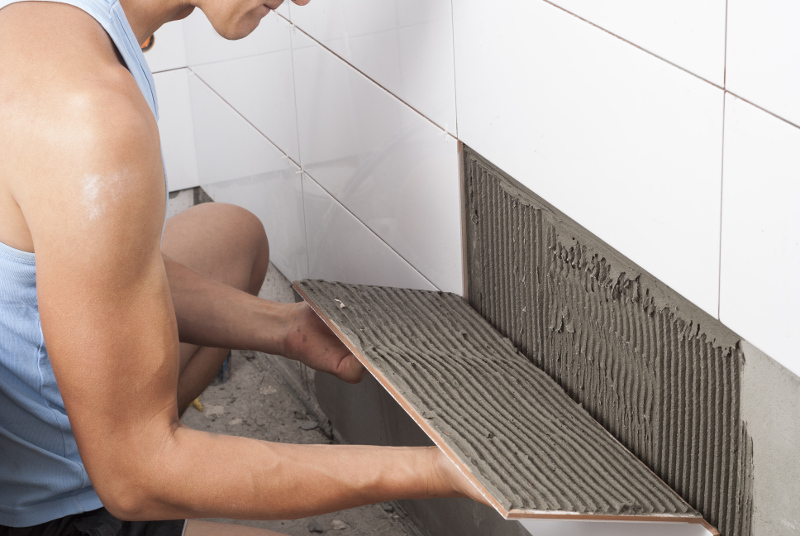
Never forget to read the adhesive manufacturer’s directions before even opening the tin and try not to allow any of it to get on your skin. If some ends up on you, just clean it with water as soon as possible. Even though tile adhesives aren’t usually abrasive, if you leave it for some time it may cause an allergic reaction. In addition, use a bubble level to help you with the depth and level of the tiles and spacers to maintain an even distance between them.
The Final Touch
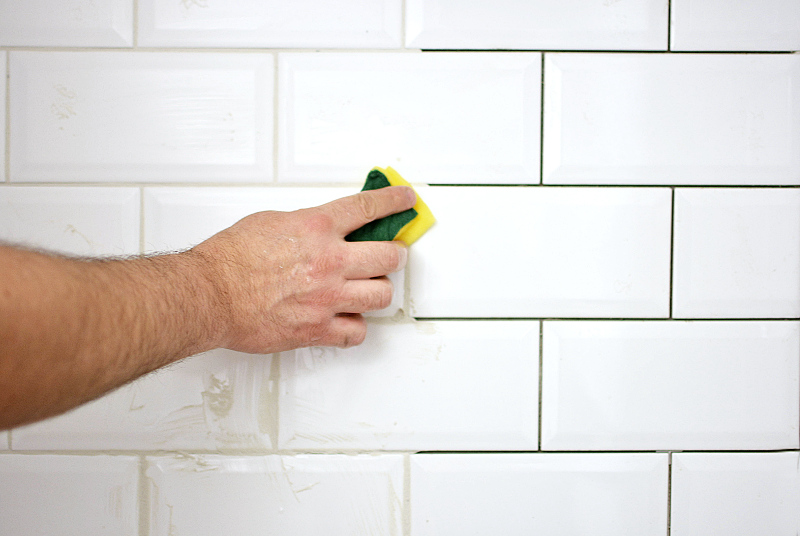
Once the tile adhesive or mortar has dried and the tiles are firm and even, you can start with the final touches. You’ll have to fill the spaces between tiles with grout, making sure you don’t leave any gaps as these cause damp problems (like in a shower, for example).
The technique is very simple: use a rubber-faced trowel to spread the grout and a cotton cloth to clean the excess grout from the tiles later. There are many different types of grouts; you’ll have to choose the right one depending on the surface and chosen tile.
Now that you have your ceramic tiles laid down, you only need to take care of them. Usually, manufacturers provide information on taking care of their tiles, and the tile maintenance requires minimal effort. Most household cleaning products will do the job well, but if some particular stain is stubborn, there are many commercial stain removers. Be sure that you use the right product for the appropriate tile.
After reading all these tips, now you are one step closer to discovering how satisfying it can be to handle a tile installation yourself. At Flooring Guide, we are passionate about DIY tips and hope you found our steps to ceramic tile installation useful.