 Before starting, clear the area to be tiled of all furniture and remove all moldings, fittings or fixtures that will be in the way. Door moldings that impede the tile can be cut at the base with a hand saw. Place a section of corrugated cardboard on the tiling surface. This will compensate for mortar thickness. Lay a piece of tile on top of the cardboard. Cut bottom of door molding just above the tile as shown above. Tile will be able to slip under door frame correctly.
 Surface Preparation
This is the most important step in attaining a quality tiling job. The surface to be tiled must be firm (doesn’t flex when weight is applied), flat, level, and clean. For professional results, install tile only on the surfaces described in this brochure. If you find that your surface is a material other than one of those mentioned below, replace it with an approved surface.
 Floors
Wood Subfloors:
Check to see that your floor joists (studs) are no more than 16 inches on center. Anything more than this will not provide a stiff surface to tile.
 A double wood floor of 1-1/4 inch thickness (two 5/8 inch sheets of exterior grade plywood) is the construction recommendation. These two layers should be overlapped with offset joints. In some installations, subfloors may be stiffened with a 1/2 inch cement backer board. This should be placed with 8d (1-1/2 inch
minimum) cement coated nails or screws every 6 inches around the perimeter, and every 8 inches in all directions across the floor. Space sheets with 1/8 inch gaps and offset sheets so joints do not coincide with plywood subfloor. Surface should not dip or rise more than 1/8 inch over any 10 foot span.
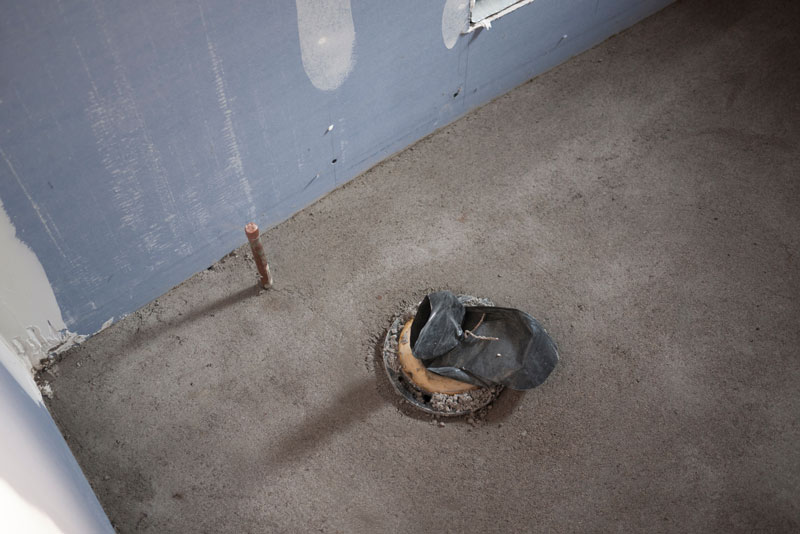
Concrete Subfloors:
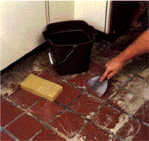
Concrete must be clean and free from waxes, sealers, curing compounds, etc.
 If any of these are present, the tile will not adhere to the surface.To test for these agents, place a few drops of water on the surface. If the water beads, one of the above contaminants is present and must be removed with a floor stripper.
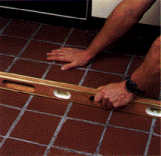
Check the surface for flatness by laying a straight edge that is at least four feet long on the floor. The floor should not dip or rise more than 1/8 inch in a 10 foot span. Larger depressions can be leveled using a self leveling cement filler or latex fortified patching compound.
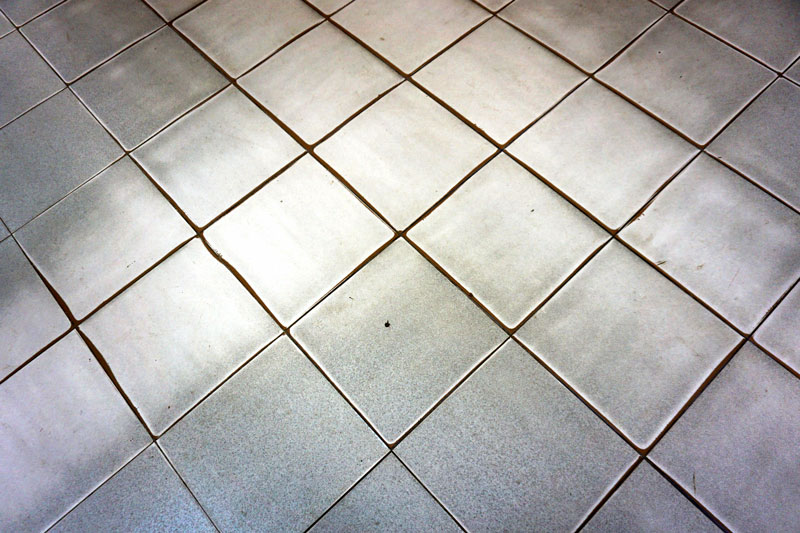
 Existing Ceramic Tile Floors
Check to see that all existing tile is well bonded. Make sure that it is clean and free of all loose materials and remove any soap or wax residue with a strong degreasing agent (such as TSP). The new floor you lay down will only be as good as the surface on which you tile. Never set tile over a loose or dirty surface.
 Asphalt Tiles, Sheet Vinyl Or Linoleum Floors
Existing floors of this nature can be used as a substrate as long as the tiles or sheets are solidly adhered to the floor, and that there is proper firmness and flatness throughout. If the floor is sound, firm and in good condition, strip floor of all sealers, waxes and dirt with a floor stripper. Caution! Never sand or abrade vinyl asbestos tiles.
Expansion Joints:
Expansion joints must be left around the perimeter to allow for floor movement. Leave a space of 1/4″ between the wall and the subfloor/adhesive/tile. Areas larger than 24″ x 24″ require expansion joints within tiled area. This space is then sealed with a flexible sealant.
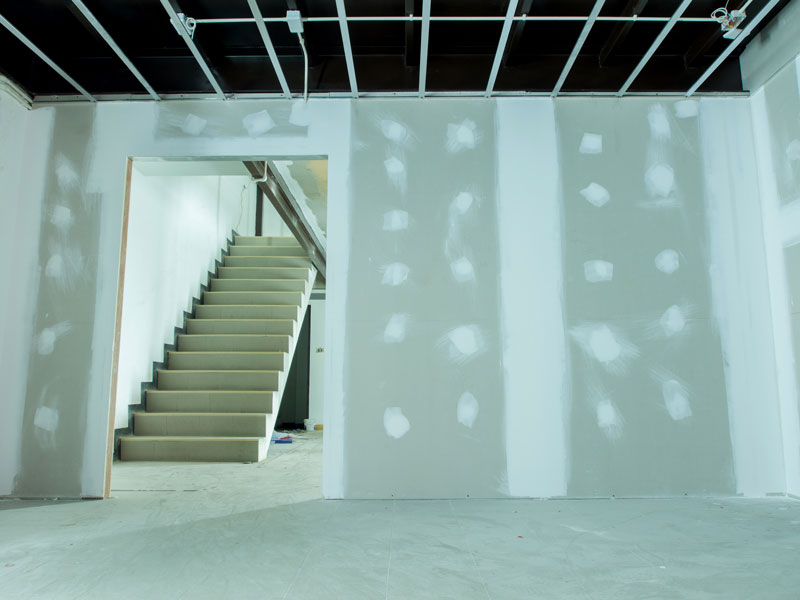
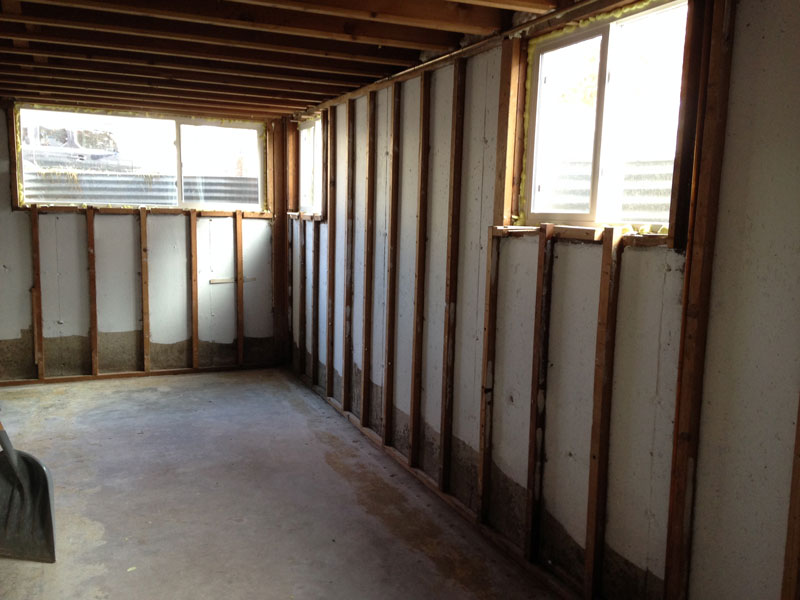
Walls
Standard framing is fine to support a tiled wall. The wall must be strong enough to hold up with the additional weight of tile, adhesive and grout. Use plaster, gypsum board or moisture resistant Portland cement backer boards for most tiling jobs. Plywood and Gypsum based products are not recommended for wet areas.
 Countertops
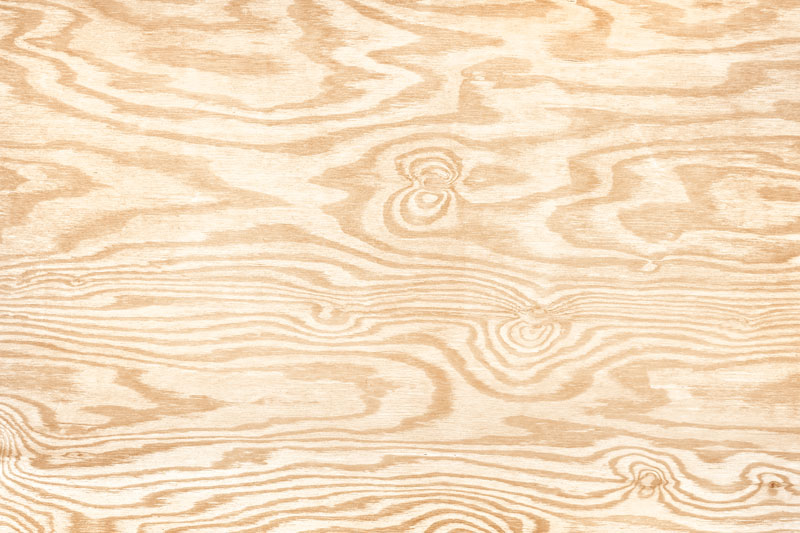
Plywood Underlayment:
Total thickness must be at least 3/4 inch and securely bonded. If a new or additional surface is needed to increase the thickness to 3/4 inch, use approved underlayment grade plywood or cement backer board. Fasten at 6 inch intervals along the edges and studs with 1-1/2 inch galvanized roofing nails for cement backer boards or 1-1/4 inch (minimum) underlayment nails or screws for plywood.
 Check old or newly applied surface for loose areas and reinforce with appropriate fasteners.